Guide to Repairing Hydraulic Cylinders
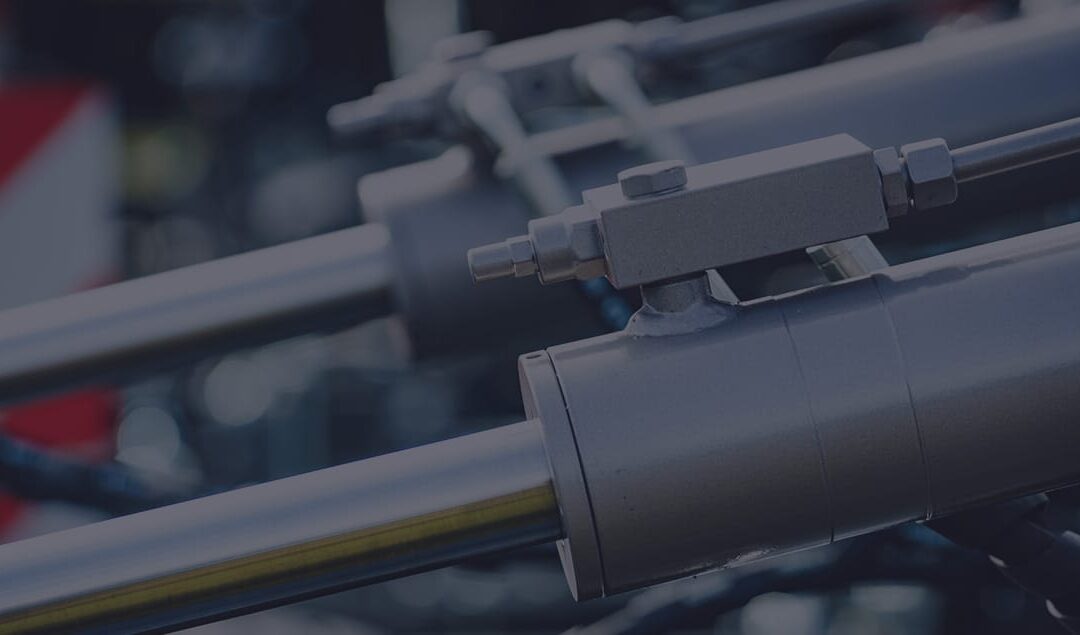
Hydraulic Repair Near Me Hydraulic cylinders play a vital role in specific hydraulic systems, providing essential force for various tasks. A malfunctioning cylinder can significantly hinder productivity, necessitating prompt repair.
Thankfully, among hydraulic system components, hydraulic cylinders are relatively straightforward to repair. However, possessing the correct tools and expertise is crucial for effective repair.
Hydraulic Cylinder Varieties
Your repair approach will vary based on your Hydraulic Repair Near Me hydraulic system’s cylinder type. There are primarily two categories: threaded head and wire ring cylinders. Identifying your system’s cylinder type is a critical first step in the repair process.
Initial Steps for Cylinder Rebuilding
Before starting the repair on any cylinder type, thoroughly clean its exterior and any connected hoses. This step is crucial to prevent contaminants like dust or sludge from entering the cylinder.
When detaching hoses from the cylinder, seal their openings to prevent dirt from entering. Then, remove the cylinder from the hydraulic system.
Repairing Threaded Head Cylinders
Threaded head cylinders have a set screw and end cap securing the internal components. Start by draining any Hydraulic Repair Near Me hydraulic fluid after opening the cylinder ports. Remove the set screw, then detach the end cap, gland, and rod assembly. Replace all O-rings and seals—these should never be reused.
Keep track of the order and placement of O-rings and seals during removal. Taking a photo for reference can simplify reassembly.
If replacing parts like the piston, rod, gland, or end cap, loosen the lock nut on the rod assembly to remove these parts.
Begin reassembly by replacing O-rings and seals, lubricating them with clean Hydraulic Repair Near Me hydraulic fluid. Reassemble the rod assembly, ensuring correct placement of the end cap and gland. Reinsert the rod assembly into the cylinder housing, possibly using a rocking motion for ease.
Replace the end cap and secure it with the set screw at the correct torque. Finally, reinstall the cylinder in the hydraulic system and reattach hoses.
Repairing Wire Ring Cylinders
For wire ring cylinders, start by removing the steel wire ring to access the rod assembly. Have a new seal kit ready, as you’ll need to replace O-rings and seals. The kit should include a special plastic removal ring for extracting the rod assembly.
The general steps for rebuilding a wire ring cylinder are more complex than for a threaded head cylinder and include removing and replacing various parts, ensuring cleanliness, lubrication, and correct reassembly.
Final Checks and Precautions
Regardless of the cylinder type, always double-check your work. Improper reassembly can lead to the rod assembly dislodging under pressure, causing hydraulic fluid leakage.
Advice for Hydraulic Repair Near Me Hydraulic Cylinder Repair
Advice #1: Conduct a Thorough Inspection
Before any repairs, examine the cylinder’s seals, hoses, fittings, rods, and other crucial components. Sometimes, the issue may not be with the cylinder itself but could be due to a simpler problem like a leaking hose.
Advice #2: Gather the Appropriate Tools
Specific tools are necessary for removing the cylinder rod and conducting repairs, such as wrenches, circlip pliers, screwdrivers, and an emery cloth. The required tools vary depending on the cylinder type (wire ring or threaded head). Avoid starting repairs without the necessary tools, as improper tools can damage the cylinder.
Advice #3: Ensure Availability of Correct Parts and Components
Identify the problem’s root cause and gather all necessary parts and components for the repair. Different cylinder types may need unique parts. Always replace O-rings and seals when disassembling the cylinder housing.
Advice #4: Replace Wear Bands
New gland seals, like piston seals, should be installed to prevent oil leakage and metal-on-metal contact.
Advice #5: Carefully Dismantle the Rod Assembly
Documenting the rod assembly’s dismantling process with photos helps in correct reassembly. Incorrect placement of components like piston seals or springs can hinder proper functioning and lead to issues such as corrosion.
Advice #6: Inspect Disassembled Parts
While disassembled, check for any damage to the cylinder rod, such as bends or scratches. Examine the rod seals for deformities and the cylinder bore for rust, pitting, scoring, or scratches, as these can cause leaks.
Advice #7: Identify the Underlying Issues
Addressing the root cause of damage is crucial to prevent recurring repairs. Understanding what led to the damage helps in avoiding future issues.
Advice #8: Maintain a Repair Parts Inventory
Keeping a stock of necessary repair parts (like seals for cylinder rods, pistons, and glands) reduces downtime, as you won’t need to wait for parts delivery.
Advice #9: Prepare the Cylinder Properly
Clean the area around the cylinder thoroughly before disconnecting hoses and removing the cylinder. This prevents contaminants from entering the cylinder and hydraulic system.
Guidelines for Hydraulic Repair Near Me Hydraulic Cylinder Maintenance
Guideline #1: Comprehensive Inspection During Disassembly
While disassembling the cylinder to change seals, seize the chance to inspect all parts thoroughly. Examine the rod for chrome cracking and signs of pitting or scoring. A non-uniform finish might suggest a bent rod, necessitating replacement. Use an indicator and vee blocks to assess the rod’s straightness.
Guideline #2: Pay Attention to Wear Bands and Bushings
Beyond just replacing seals, consider upgrading guides and bearings. The optimal approach involves re-machining surfaces for accurate tolerances and replacing worn rods or barrels. Utilize downtime for these extensive maintenance tasks.
Guideline #3: Address Underlying Issues Indicated by Frequent Seal Replacement
Frequent seal replacements could signal more significant problems. A compromised piston seal might point to barrel bulging or severe scarring, while premature rod seal failure could indicate a bent or damaged rod, or a rod gland bearing falling out of tolerance.
Guideline #4: Use Appropriate Tools for Seal Replacement
Avoid using screwdrivers or sharp tools when replacing seals, as they can damage the seals or the shaft’s finish, undermining your repair efforts. Always opt for the suitable tools.
Guideline #5: Exercise Caution with High Tension Springs or Pressurized Gasses
Some cylinders contain high tension springs or pressurized gases. These can be hazardous if mishandled. If a gland or cylinder part feels unusually tight, it may be under pressure. Only disassemble if you fully understand the internal mechanics.