Hydraulic Repair Near Me Hydraulic fittings are crucial for the effective operation of hydraulic systems. If you’re a pro or just a tinkerer, a solid understanding of the process of installation is vital. In this comprehensive guide, we’ll walk you through each step to equip you with the skills and confidence needed for efficient hydraulic fittings installation, validated by a leading Hydraulic Fittings Manufacturer in India. Let’s delve into the process of installing hydraulic fittings.
How to Install Hydraulic Repair Near Me Hydraulic Fittings
Step 1: Assemble Required Tools and Materials
You will need to gather various materials, including various hydraulic fittings, wrench or socket set, Teflon tape or thread sealant, and some good rags for cleanup.
Step 2: Hydraulic Repair Near Me System Preparation
Depressurize the hydraulic system for safety and component longevity. If the system was recently used, allow it to cool to avoid hazards.
Step 3: Determine the Fitting Type
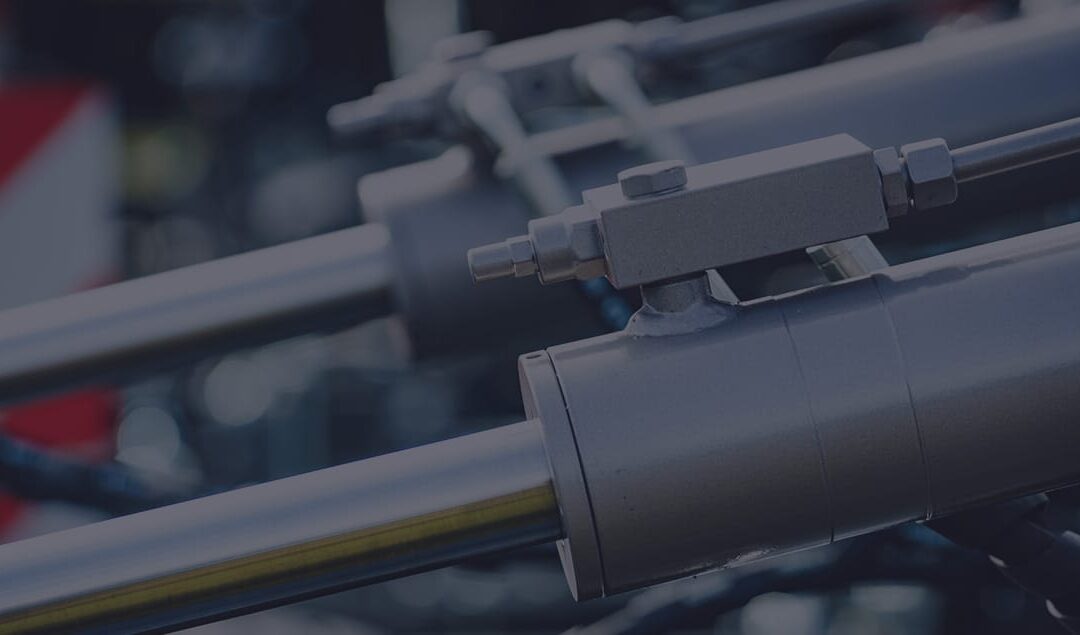
Become familiar with the type of Hydraulic Repair Near Me fitting being installed, and pay attention to whether it’s an elbow, a tee, straight, because any installation is based on the fitting type needed.
Step 4: Examine and Clean the Fittings
Check the Hydraulic Repair Near Me fittings for any damage or defects and ensure they are in good condition before installation. Also, clean any dirt, grease, or debris from the fittings and connection points.
Step 5: Application of Thread Sealant or Teflon Tape
Apply a thin layer of thread sealant or wrap Teflon tape around the male threads to ensure a leak-proof connection.
Step 6: Fit Alignment and Connection
Align the fitting correctly with the connection point and hand-tighten it securely. Further tighten it with a wrench or socket set, but avoid over-tightening to prevent damage.
Step 7: Leak Testing
Check for any signs of Hydraulic Repair Near Me system leakage after the installation is completed. Shut the Hydraulic system down immediately and check all connections again if you detect any signs of a leak.
Step 8: Final Check
Ensure the fitting is secure and leak-free with a final visual inspection, checking for any loose connections or other issues.
Conclusion
Installing hydraulic fittings can be straightforward with these steps. By focusing on safety and precision, and seeking professional guidance when needed, you can enhance your hydraulic system’s efficiency and reliability. Only through diligent practice will you master the art of hydraulic installations, but the struggle is worth it. Enjoy your installation journey!
Guide to Fitting and Adapter Installation
Installing Non-Adjustable & Straight Port Fittings
- Pre-Installation Inspection: Examine unassembled parts like threads and bore for any foreign materials, burrs, nicks, etc.
- O-Ring Suitability: Confirm the O-ring’s material, compound, and hardness are compatible with the fluid type and temperature.
- O-Ring Inspection: Check the O-ring for any damage. Replace it if there are nicks or cuts. Never use a compromised O-ring.
- O-Ring Placement: Position the O-ring on the male thread, ensuring it’s not twisted or misaligned. It should sit flush at the thread’s base.
- O-Ring Lubrication: Apply a thin layer of the system fluid or a suitable lubricant to the O-ring.
- Retaining Ring Installation: If applicable, place the retaining ring over the O-ring, making sure it’s evenly seated inside the ring.
- Fitting Attachment: Screw the fitting or adapter into the port, adhering to recommended torque values.
- Post-Installation Check: Verify that the O-ring is correctly seated and that there are no leaks.
Installing Adjustable Port Fittings
- Initial Steps: Follow steps 1 to 6 from the Non-Adjustable & Straight Port Fittings installation.
- Preparation for Adjustment: Loosen the adjustable nut and backup washer, exposing the threads completely.
- Fitting Insertion: Insert the fitting into the port until the seal fully contacts the spotface. Avoid over-tightening.
- Elbow Orientation (if applicable): For elbow installations, adjust the hose or tube end orientation by rotating the fitting, but not more than one full turn.
- Tightening the Fitting: Secure the fitting in place using two wrenches (one being a torque wrench), and tighten the adjustable nut to the recommended torque.
- Final Inspection: Ensure that the O-ring and retaining ring are correctly positioned and check for leaks.
Additional Consideration: When using a crowsfoot with a torque wrench, torque settings may need adjustments to prevent over-tightening. Consult the manufacturer for specific instructions.
Installing Tapered Port Fittings Using the ‘Turns from Finger Tight’ Method
- Initial Inspection: Check all components, particularly threads and bore, to ensure they’re free of foreign materials, burrs, and nicks.
- Sealant Application: Apply thread sealant or tape, ensuring not to cover the first two threads to prevent system contamination.
- Thread Seal Tape Application: If using thread seal tape, wrap it 1.5 to 2 turns clockwise, viewing from the bore of the fitting.
- Hand-Tightening: Thread the fitting into the port until it’s finger tight.
- Wrench Tightening: Follow the provided chart’s ‘Turns from Finger Tight’ (T.F.F.T) values to wrench the fitting into place.
- Orientation for Elbow Fittings: If installing an elbow fitting, ensure proper hose or tube end orientation without loosening the fitting beyond the T.F.F.T value to avoid hazards.
- Leak Inspection: Check the final assembly for leaks.BSPT ‘Turns from Finger Tight’ Values
- [Table of BSPT Dash Sizes with corresponding Inch Thread Sizes-TPI and T.F.F.T values]
Installing Female Swivel Fittings
- Component Inspection: Examine parts for cleanliness and integrity, focusing on threads and bore.
- Sealing Surface Compatibility: Ensure the sealing surface angles of the fittings you’re connecting are matching.
- O-Ring Inspection: If there’s an O-ring on one of the cone seats, check for damage and replace if necessary. Confirm it’s properly seated and not twisted.
- Correct Seal Placement: Do not place an O-ring or other seal at the base of the thread like port fittings. Swivel fittings seal internally.
- Tightening Process: Thread and then tighten the swivel nut using a torque wrench, holding the fitting body with another wrench. Follow recommended torque settings.
- Use of Crowsfoot: Adjust torque settings if using a crowsfoot with a torque wrench to avoid over-tightening. Consult the manufacturer for specific instructions.
- Final Leak Check: Inspect the completed assembly for any leaks.
DIN DKO Swivel – Torque Settings