Tips on Installing a Hydraulic Repair Near Me Two Post Lift
Basic instructions to get you on the right path.
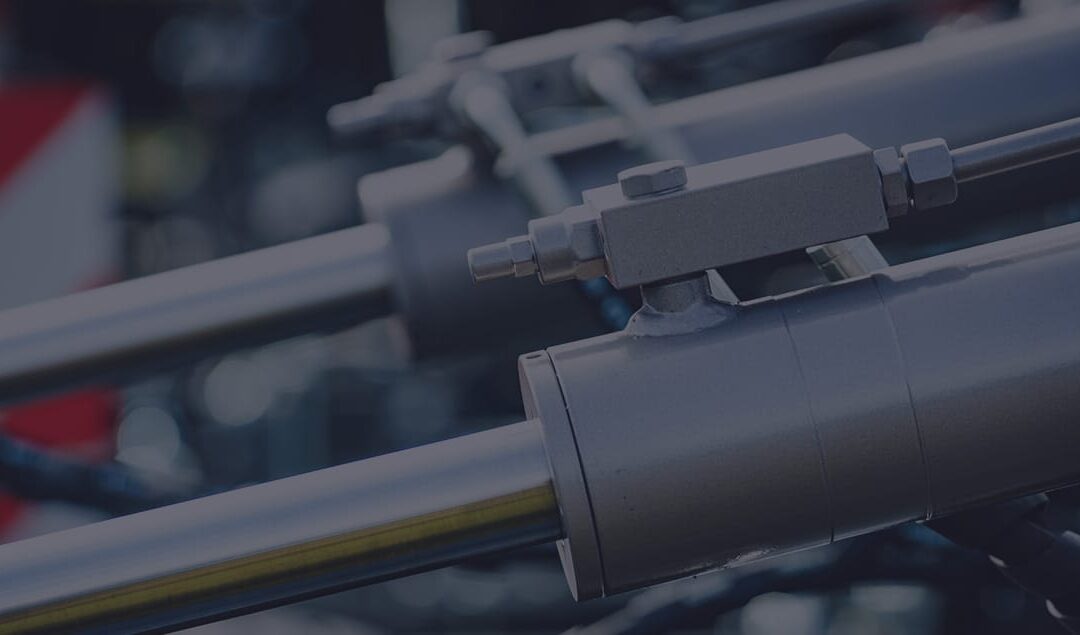
Hydraulic Repair Near Me Two-post car lifts are invaluable for any home garage or automotive repair facility, making vehicle maintenance more convenient and secure.
Installation of a Hydraulic Repair Near Me two-post lift should ideally involve professional assistance, particularly for those new to the auto repair field. While operating a lift is one thing, installing it is another, and it’s worth investing in expert services for this task.
Key Considerations During Installation of a Two-Post Car Lift:
Safety is paramount. Ensure you wear appropriate attire and safety equipment.
Get help when lifting heavy items to avoid back strain.
Follow this guide and the manufacturer’s manual for the correct use of tools.
Before Installing Your Hydraulic Repair Near Me Two-Post Car Lift:
Check the concrete floor’s depth and strength. It should be 6 to 12 inches thick with a minimum 3000 PSI.
If your floor doesn’t meet these criteria, dig holes for the lift’s columns, then fill them with concrete.
Plan for lifting the lift off the delivery truck, possibly renting a forklift, and ensure prior notification from the delivery service.
Handle the lift’s packaging and components carefully, especially the power unit.
Installation Steps for the Car Lift’s Power Unit:
This manual provides general guidance, but always refer to the specific manual provided with your lift.
Required Tools for Lift Installation:
Two 10’ to 12’ ladders
ISO 32 Light Hydraulic Oil (about 12 quarts)
Tape measure
Rotary Hammer Drill with a ¾ in. drill bit
4’ level
Socket and wrench set
Vise grips
8mm socket head wrench
Torque wrench
Teflon tape
Hydraulic Repair Near Me Installation Process:
Follow the manual for cable or chain installation inside the columns.
Ensure proper spacing from the bay door as per instructions, usually around 13 feet.
Mark the column positions with a chalk line, then align and install the columns with assistance.
Column positioning varies based on lift type (Symmetrical or Asymmetrical).
Drill holes in the concrete using the base plate as a guide.
Place bolts in the drilled holes, level the columns, and secure them with appropriate torque.
Install the Top Trough Assembly, possibly using a forklift or ladders.
Install the hydraulic power unit and fill it with hydraulic oil.
Install safety features, cables, hydraulic lines, and hoses as per the manual.
Install the lift arms, ensuring proper positioning and gear alignment.
Final Steps:
Test and adjust the lift arms, ensuring they are securely installed.
Regularly inspect the lift for safety.
By following this guide and the manufacturer’s manual, you should be able to install your lift efficiently and safely.
Is your enterprise involved in transporting heavy items between different floors? Consider the advantages of a vertical reciprocating conveyor to boost efficiency.
Back injuries, accounting for 20% of workplace injuries as per the Bureau of Labor Statistics, can be significantly reduced with a lift. For optimal business and employee performance, installing a lift is a strategic move.
Discover the process and benefits of implementing a Hydraulic Repair Near Me lift system.
Advantages of Installing a Lift:
Lifts are a durable solution for heavy-lifting tasks and provide numerous advantages:
Efficient and safe vertical movement of goods
Enhanced productivity
Time efficiency
Reduced manual labor
No need for forklifts
A trained technician can complete the lift installation in five steps.
Lift Installation Process:
Positioning the Columns
- The technician will first assess the suitability of the chosen site for the lift. Alternative locations will be suggested if needed. Key considerations include:
Sufficient space for safe installation without disrupting business operations.
Both floors must be robust enough to support the loaded lift system, with adequate overhead clearance for loading and unloading.
The columns and guide columns will be securely bolted in place.
Placing the Carriage
- Floor and wall markings guide the accurate positioning of the carriage to ensure smooth, level travel up the columns. The carriage is precisely positioned within the columns, with wheelblocks attached to the columns and the carriage uprights. Lift chains are then installed and connected to the wheelblocks.
Installing the Drive Base for Mechanical Lifts
- For mechanical lifts, the drive base is positioned atop the columns. Once the motordrive is properly aligned, the drive base is bolted and welded to the supports.
Assembling Gates and Enclosures
- Gates and enclosures are crucial for safety, preventing items from falling off the VRC. These components are securely welded into place.
Electrical Wiring
- The technician handles all electrical wiring, ensuring the lift operates smoothly and safely. The wiring process includes checks to guarantee safe operation by any employee.
Final Inspection
The final step involves a comprehensive inspection and a demonstration for employees or designated operators on safe lift usage, ensuring the lift’s operational readiness.
Lift installation is a strategic investment for business growth. Don’t hesitate; contact us for customized solutions that elevate your business to new heights.
Preparing and Organizing Your Hydraulic Repair Near Me Lift Installation
Effective planning is crucial for successful outcomes. Engaging with a trusted lift installation company allows you to consult with skilled lift designers who will assess your specific requirements. They’ll consider various factors such as the building’s type and function (be it residential, commercial, or industrial), the number of floors the lift will service, the expected user demographic (including age and accessibility needs), and whether the lift will carry goods or materials. This information helps determine the lift’s capacity, speed, and travel distance.
The type of lift to be installed will also be determined. Common types include passenger lifts, platform lifts for wheelchair accessibility (often a legal necessity), car lifts for multi-storey parking solutions, and eco-friendly lifts for environmentally conscious users and businesses.
Aesthetic considerations may also be part of the discussion, particularly for lifts where visual integration with the building is desired. This could involve choosing specific colors for the lift doors or cabin interiors. Options like scenic lifts, which offer views of the surroundings, might be explored.
Remember to always be careful when working with hydraulics!