Comprehensive Instructions for Setting Up a Hydraulic Repair Near Me Two-Post Car Lift in Your Workshop or Garage
Hydraulic Repair Near Me Two-post car lifts are invaluable additions to any home garage or auto repair shop. They’re commonplace in professional settings, drastically improving the ease and safety of vehicle repairs when used.
However, the installation of a Hydraulic Repair Near Me two-post lift is not a DIY task and should be handled by experts. For those new to the auto repair field, operating a lift is one thing; installing it is quite another. It’s worth the additional cost to ensure professional installation.
Key Considerations During Two-Post Car Lift Installation
Prioritizing safety is crucial. Always wear appropriate work attire and safety equipment.
Enlist help for lifting heavy parts to avoid back injury.
Follow this guide and the manufacturer’s instructions for using the right tools.
Pre-Installation Steps for the 2 Post Car Lift
For DIY enthusiasts, certain preparatory steps are essential.
Ensure your garage floor’s concrete is at least 6 to 12 inches deep with a minimum 3000 PSI to support the lift’s columns.
If your concrete floor doesn’t meet these standards, excavate and pour concrete in the designated column areas, aiming for dimensions of 2 feet by 2 feet by 1 foot.
Upon the lift’s arrival, arrange a forklift for unloading, which can cost between $100 to $150 per day.
Coordinate with the delivery team for a smooth process. If a forklift is unavailable, consider having the lift shipped to a nearby freight terminal.
Handle the lift’s components, especially the power unit, with care during unpacking.
Power Unit Installation Guide
WARNING: Always refer to the lift’s specific manual for detailed instructions, as installation varies by model and brand. Contact us for installation queries or to find local installers.
Required Tools for Installing a Hydraulic Repair Near Me Car Lift
A comprehensive list of tools includes:
10’ to 12’ step ladders
ISO 32 Light Hydraulic Oil (about 12 quarts)
Tape Measure
Rotary Hammer Drill with a ¾ in. Drill Bit
4’ Level
A set of Sockets and Open Wrenches
Vise grips
8mm Socket Head Wrench
Torque wrench
Teflon Tape
Installation Steps
After unpacking, begin by installing Hydraulic Repair Near Me cables or chains inside the columns, following the specific instructions for your lift model.
Consider the recommended distance from the bay door for the lift’s placement, typically about 13 feet for maneuvering vehicles.
Mark the column positions with a chalk line, then align and install the columns with an assistant’s help.
Column positioning depends on whether you have a Symmetrical or Asymmetrical lift, such as Bendpak’s XPR-10 or Challenger Lifts’ CL-10 models.
Column Installation
Use the provided chart as a guideline for positioning the columns.
Prepare for noise and dust during drilling. Wear a dust mask and earplugs if necessary.
Drill holes according to the required depth, specific to your lift’s capacity. Refer to the chart for guidance.
Insert anchor bolts, level the columns, and tighten at 85 ft-lbs of torque.
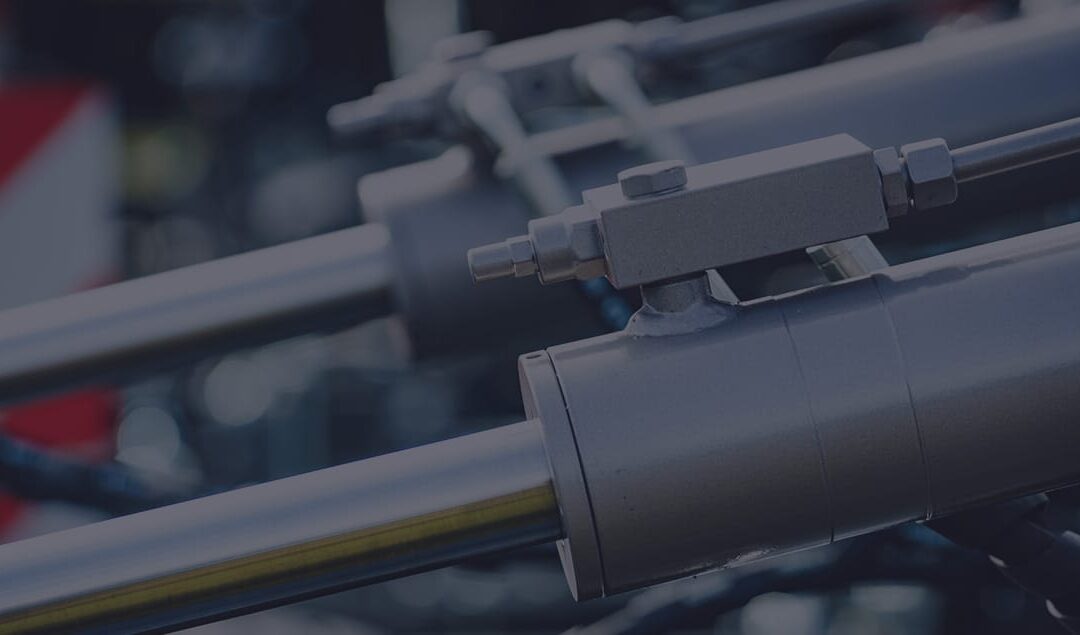
Hydraulic Power Unit and Cables Installation
Secure both columns, then install the Top Trough Assembly, which may require a forklift or ladders.
Install the hydraulic power unit with a vibration dampener and fill it with hydraulic oil.
Install safety mechanisms, cables, hydraulic lines, and hoses as per the lift model’s instructions.
Hydraulic Repair Near Me Lift Arms Installation
Install the lift arms, ensuring proper positioning and securing with snap rings and gear ring bolts.
Test the lift arm’s strength and adjust the gear ring for smooth operation.
Monthly Maintenance Tasks:
- Apply heavy-duty bearing grease to the inner corners of the legs.
- When the lift is down, inspect the hydraulic fluid level and refill as needed, following the Installation Instruction section.
- Ensure carriage latches click simultaneously. Adjust equalization cables if required, as detailed in the Installation Instruction section.
- Verify all bolts are securely fastened.
- Examine and retighten anchor bolts to 90ft/lbs as necessary.
- Check bolt tightness weekly for the first month, then monthly thereafter.
- Substitute any worn or damaged components with official parts from the lift’s manufacturer or their equivalents.
Troubleshooting Guide:
- If the power unit is unresponsive:
- Inspect the electrical supply breaker or fuse.
- Look for any activation of the travel limit switch by a high vehicle.
- Check the micro-switch and connections in the motor control box and overhead switch box.
- Verify motor voltage.
- If the power unit operates but doesn’t elevate the lift:
- Recheck the oil level.
- Ensure the lowering valve isn’t jammed open.
- Inspect the pump’s suction side for connection and component issues.
- If the lift raises without load but fails with a vehicle:
- Confirm the vehicle is within the lift’s capacity and properly positioned.
- Clean the lowering valve by running the power unit for 30 seconds while opening the valve.
- Recheck motor voltage.
- If the lift slowly descends:
- Look for external leaks.
- Clean the lowering valve as described above, repeating three times.
- Clean the check valve seat.
- For slow lifting or oil foaming:
- Ensure oil meets specifications in the Installation Instruction section.
- Secure all suction line fittings.
- If anchors consistently loosen:
- If drilling holes were oversized, reposition the lift as advised in the Installation Instructions.
- If the floor lacks adequate strength, remove a section of concrete and repour as per the Installation Instructions.
- For uneven lift movement:
- Reposition the vehicle for balanced weight distribution.
- Smooth out any roughness on the leg corners using 120 grit emery cloth and lubricate with heavy-duty bearing grease.
- Use a level to verify leg alignment and shim as needed, following the Installation Instructions.
- Check the oil level and bleed the hydraulic system to remove air, as per the Installation Instructions.
- If the lift stops lowering after approximately 1”:
- Ensure safety latches are released and adjust cables for proper disengagement.
- If the lift won’t lower from full rise:
- Adjust out-of-sync equalization cables to allow safety latch disengagement.
- Follow the procedure to safely lower the lift and readjust cables as instructed in the Installation Instructions.
- If the Power Unit keeps running:
- Replace a damaged switch and ensure the power is off during this process.